Wednesday, October 7, 2015

Frankenstein (1931)

Frankenstein (1931)


A staple of October Halloween movie marathons, the 1931 classic "Frankenstein".  While the movie is good in its own way, it in no way matches up with the great novel by Mary Shelley.  It did take me a long time to finally get around to novel, but I was really surprised how completely different the Monster was from his depiction in the movie.  In the movie, he was slow and shuffling, a near mute.  In the book, he had super-human speed and grace and spoke several languages; in spite of all that, he was still rejected by society for his appearance.  I am usually not a fan of epistolary novels (stories told in a series of letters), but this is one with which to make an exception.

And, yes, Frankenstein is the name of the scientist, NOT the Monster. :-P

* * * 


STEP ONE:  Here are the rough pencils on a 8-1/2" x 11" sheet of cardstock.  Many times, I do prefer the pencils to the finished picture... This is probably one of those times, too.  It probably has to do with the pencil line being somewhat sketchy, so your brain picks the best potential lines to emphasize.  Once it's inked, the line is essentially "locked down" and what you have is what you got.

* * *


STEP TWO:  I inked the pencils with a a #8 brush and Pro-Art 4100 India Ink. 

* * *


STEP THREE:  I scanned it into Photoshop and did a monochrome coloration with three values of green over a MULTIPLY Layer.

* * *

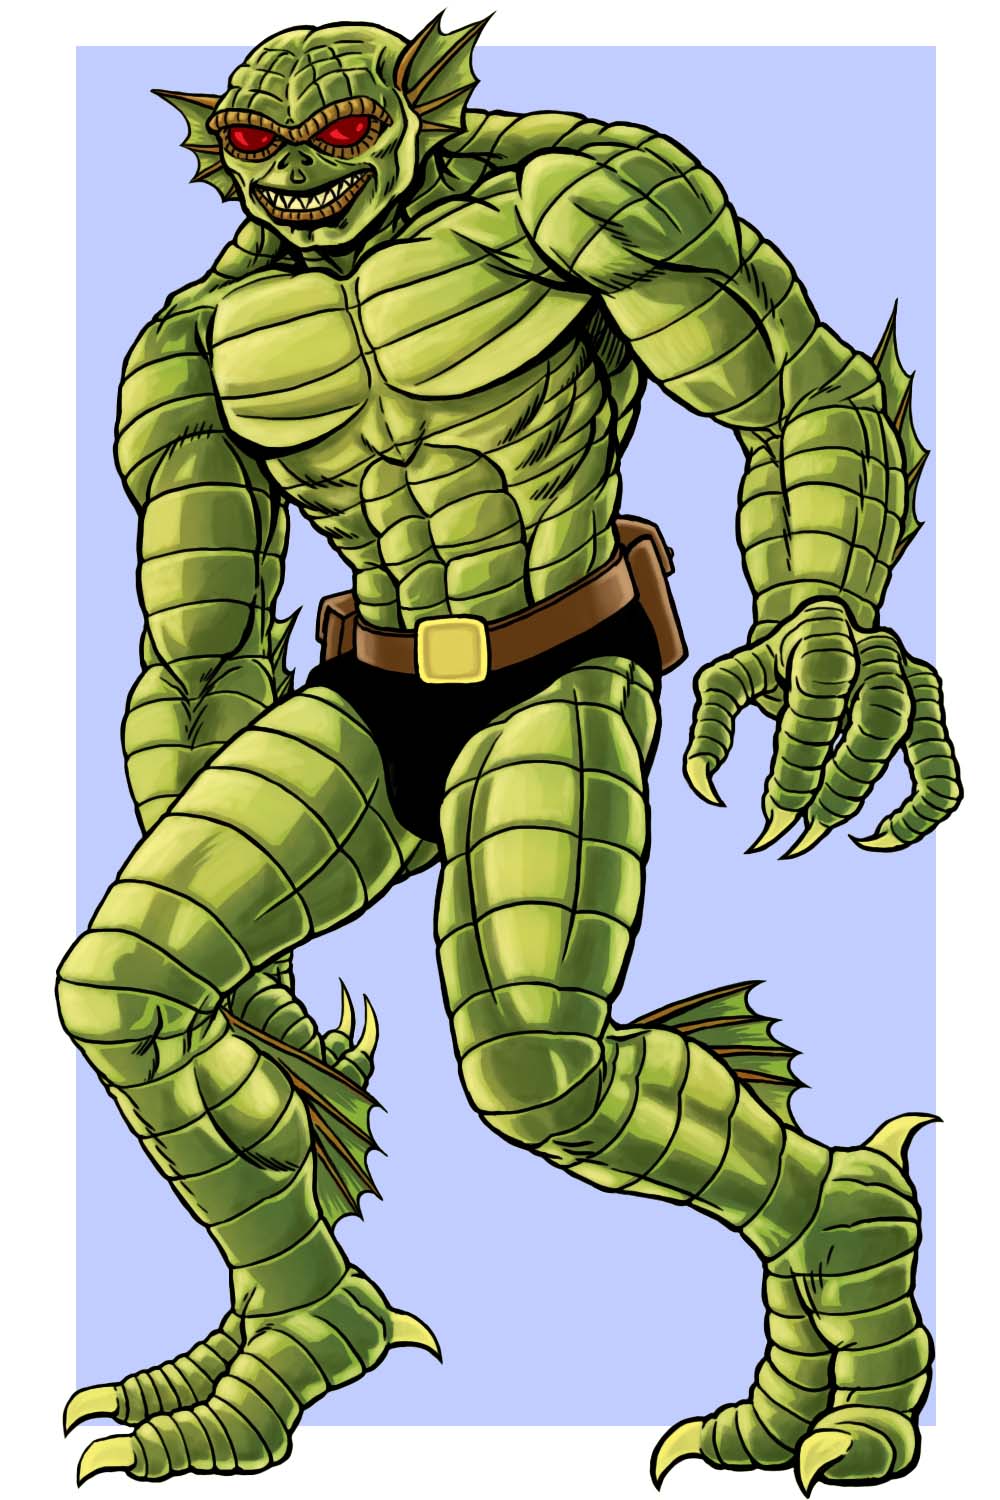
Done with pen-and-ink on 8-1/2" x 11" cardstock, colorized in Photoshop.

.

Friday, October 2, 2015

The Mummy (1932)

The Mummy (1932)


Hey, it's that time again for Monochromatically colored pen-and-ink drawings for Halloween B-Movies from the past!  (Click the Label B-MOVIE to see the rest.)  And it's Inktober, which is also a thing, I guess, for the past few years?  So, it's a twofer! 

I watched this movie when I was a kid, and the Mummy as unstoppable force of nature -- long before there was a Terminator movie -- was a concept which filled me with, well, horror.  Then again, my 6 year-old mind was constantly bubbling over with terrors and monsters aplenty.

* * *


STEP ONE:  Here are the rough pencils on a 8-1/2" x 11" sheet of cardstock.

* * *


STEP TWO:  And here are the inks.  I used a Copic .5mm pen and a #8 brush and Pro-Art 4100 India Ink.

* * *


STEP THREE:  I scanned it into Photoshop and did a monochrome coloration with three values of blue over a MULTIPLY Layer.

* * *

Done with pen-and-ink on 8-1/2" x 11" cardstock, colorized in Photoshop.

.

Wednesday, September 30, 2015

Bat-Joker

Bat-Joker


I did this for a friend as a (belated) birthday present.  (Sorry for the delay, Dave!)

For those of you interested, below are the Step-By-Step for the painting above...

* * *


STEP ONE:  Here are the pencils for the Bat-Joker picture.  I used a water-soluble, blue-gray colored pencil for the drawing.  Originally, there was going to be a mash-up of the Bat symbol and a "J" for Joker, which I pencilled in.

* * *


STEP TWO:  Here is the first pass for watercolors/gouache (I use both interchangeably in most of my paintings), using a #12 size brush.  I still left the the place to do the Bat-Joker symbol, but was still not sure if I liked it or not.

* * *


STEP THREE:  Shortly after I took the last picture, I decided I really didn't like the Bat-Joker symbol, as it looked too much like an umbrella and painted it over.  I pushed some of the darks a little more, worked on some more details, and mostly finished the painting at this step.

* * *


STEP FOUR:  I thought it needed a little more to it, so I masked off the figure and spattered some red gouache in the background.  Also, I mixed some Pro-White and yellow watercolor to make the "Ha! Ha! Ha!" and called it done, lest I keep messing with it 'til his next birthday comes and goes. :-D

* * *

This was done with watercolor on 9" x 12" Fluid (#120) watercolor paper

.

Thursday, September 24, 2015

Handbook of the Marvel Universe: Tyrannus

Tyrannus


Here is the original entry for Tyrannus to the "Official Handbook of the Marvel Universe".

* * *


And here is my entry to the Official Handbook of the Marvel Universe: Redux

* * *


STEP ONE:  I sketched Tyrannus with blue-pencil on an 8-1/2" x 11" sheet of printer paper.  I scanned it into the computer and imported it into Photoshop.

* * *


STEP TWO:  Next, I digitally inked the drawing using a 5 point round brush.

* * *


STEP THREE:  Originally, I was going to just do the drawing with a simplified color scheme, like something out of the original comic books.  But, I changed my mind and thought I should put in a little more effort. 

* * *


STEP FOUR I created several New Layers and added each color over top for highlights and shadows.  I also figured I should go back and emphasize the "crazy-eyes" and give him a jokeresque smile.  When it was done, I erased the white background and put in a light-blue background, then sent it along to the OHotMU: Redux Blog.

* * *

This was done digitally in Photoshop

.

Tuesday, August 25, 2015

Handbook of the Marvel Universe: Crusader

Crusader


Here is the original entry for Crusader to the "Official Handbook of the Marvel Universe".

* * *


And here is my entry to the Official Handbook of the Marvel Universe: Redux

* * *


STEP ONE:  I created a new 900px x 1400px document and used a charcoal brush to roughly layout the pose.

* * *


STEP TWO:  A little further into the grayscale modelling the figure.

* * *


STEP THREE:  Over a MULTIPLY Layer, I put in some flat colors.  I went with a slightly different palette than the original... for some reason, the original colors looked a little strange when I did it originally.  And I think the red/white/blue motif worked a little better. 

* * *


STEP FOUR:  Over several New Layers, I added colors over top for highlights and shadows.  When it was done, I erased the white background and put in a light-yellow color and sent it along to the OHotMU: Redux Blog.

* * *

This was done digitally in Photoshop

.

Wednesday, July 15, 2015

Ultraman / Eiji Tsuburaya

Happy (Belated) Birthday to Eiji Tsuburaya


Well, I'm a little late, but since Google did a Doodle for the birthday of one of the main creators of Ultraman last week, I figured I should do another something Ultraman-related, myself.  (Here's a link to the previous Ultraman painting I did.)

I've had something like this kicking around in my head for a while and it seemed the perfect time to finally get it done.  When I was much younger, I always loved watching anything involving robots, monsters, and aliens... Y'know, general B-Movies from the 50's, 60's, and 70's.  It's a subject I will be coming back to again and again on this Blog.  :-)

I won't pretend that I am the biggest super-fan, nor can I say I am a fount of trivia or deep knowledge for Tsuburaya's works, but there is a definite, abiding fondness I have for them and the characters he created/worked on.  They make my inner-child smile.

For those interested, here are the progressions for the picture...

* * *


STEP ONE:  Here are the pencils.  Originally, I was going to do a watercolor/gouache (opaque watercolors) painting.  I penciled everything out on a piece of 12" x 16" cheap illustration board I had laying around and scanned it in to record each step of progression.  I debated if I should seal the pencils with Matte Medium or not, but figured the board was thick enough to take the watercolor/gouache without trouble; after all, I've done LOTS of watercolor paintings on cardstock just fine with no problem--this was much, MUCH thicker than cardstock, so it should work just fine, right?  

Of course, within 10 minutes of starting the painting, the board started to blister badly and peel up.  Sigh...  When will I learn, and why is the answer to that questions always "NEVER!"?

* * *


STEP TWO:  Well, at least I had the pencils scanned in.  So, I just decided to do everything digitally for the picture, instead.  When life gives you lemons, just hope you have enough sugar on hand to take the edge off the bitterness of that disappointment.  In this case, I used a large charcoal brush in Photoshop to do some very general color layouts and rough shapes. 

* * *


STEP THREE:  More of the same, just building up colors and beginning to work on the figures on different Layers.

* * *


STEP FOUR:  Even more of the same as before.

* * *


STEP FIVE:  And finally...  I did want some more destruction around, so did the building as destroyed by the battle.  

It turned out quite a bit different than I had planned, but it isn't as bad as I feared it would become.  There are parts which are still a little "too digital" for my tastes... originally, I was planning it as a watercolor painting, and then doing a little "sweetening" of the picture in Photoshop as needed, rather than a start-to-finish digital painting.  Oh, well.

* * *

Done digitally in Photoshop.

.

Friday, July 10, 2015

Handbook of the Marvel Universe: Aliens - Sidri

Sidri


Here is the original entry for the Alien Race: Sidri to the "Official Handbook of the Marvel Universe".

* * *


Here is my entry for the Alien Race: Sidri to the "Official Handbook of the Marvel Universe".

* * *


STEP ONE:  Once again, I used a blue-lead pencil to sketch out the entry for the Sidri.

* * *


STEP TWO:  The pencils were inked digitally with a 5pt. hard brush in Photoshop.  As before, I decided to keep the drawing simple and would let the color do the shading, rather than the line work.

* * *


STEP THREE:  I created a MULTIPLY Layer and laid in flat colors, then choose lighter/darker versions of that color for simplified highlights/shading.

* * *

This was done with blue-pencil on 8-1/2" x 11" paper and then digitally inked and colored in Photoshop.

.

Tuesday, July 7, 2015

Handbook of the Marvel Universe: Aliens - Saurids

Saurids


Here is the original entry for the Alien Race: Saurids to the "Official Handbook of the Marvel Universe".

* * *


And here is my entry to the Official Handbook of the Marvel Universe: Redux.  

* * *


STEP ONE:  Once more, I used a blue-lead pencil to sketch out the entry for the Saurids.

* * *


STEP TWO:  Once the pencils were scanned in, I inked them digitally with a 5pt. hard brush in Photoshop.  As before, I decided to keep the drawing simple and would let the color do the shading, rather than the line work.

* * *


STEP THREE:  I created a MULTIPLY Layer and laid in flat colors, then choose lighter/darker versions of that color for highlights/shading.

* * *

This was done with blue-pencil on 8-1/2" x 11" paper and then digitally inked and colored in Photoshop.

.

Wednesday, July 1, 2015

Handbook of the Marvel Universe: Aliens - Sarks

Sarks


Here is the original entry for the Alien Race: Sarks to the "Official Handbook of the Marvel Universe".

* * *


And here is my entry to the Official Handbook of the Marvel Universe: Redux.  

* * *


STEP ONE:  Just like the previous entry, I used a blue-lead pencil to sketch out the entry for Sarks.

* * *


STEP TWO:  Once the pencils were scanned in, I inked them digitally with a 5pt. hard brush in Photoshop.  As before, I decided to keep the drawing simple and would let the color do the shading, rather than the line work.

* * *


STEP THREE:  I created a MULTIPLY Layer and laid in flat colors, then choose lighter/darker versions of that color for highlights/shading.

* * *

This was done with blue-pencil on 8-1/2" x 11" paper and then digitally inked and colored in Photoshop.

Tuesday, June 30, 2015

Handbook of the Marvel Universe: Aliens - Sagittarians

Sagittarians


Here is the original entry for the Alien Race: Sagittarians to the "Official Handbook of the Marvel Universe".

* * *


And here is my entry to the Official Handbook of the Marvel Universe: Redux.  

Apparently, the Sagittarians have a mustache.

* * *


STEP ONE:  I used a blue-lead pencil to sketch out the entry for Sagittarians.  For some reason, since they did have a mustache prominently featured, I sort of pictured them as vaguely steampunk big game hunters with a retro glass helmet in lieu of a British pith helmet.  I'm not sure why, but it amused me to some degree.

* * *


STEP TWO:  Once the pencils were scanned in, I inked them digitally with a 5pt. hard brush in Photoshop.  I decided to keep the drawing simple and would let the color do the shading, rather than the line work.

* * *


STEP THREE:  I created a MULTIPLY Layer and laid in flat colors, then choose lighter/darker versions of that color for highlights/shading.

* * *

This was done with blue-pencil on 8-1/2" x 11" paper and then digitally inked and colored in Photoshop.

.