
I keep looking at individual comic panels out of context and thinking "Hey, that would be a great for 'Repaneled'..." There are so many panels that I think it would be fun to recreate, so I'm sure I will be doing several more submissions in the near future. In fact, I'm quite sure Anthony will soon be tired of me spamming his Inbox. So, if you haven't already, you should go to his site and submit some panels of your own! :-)
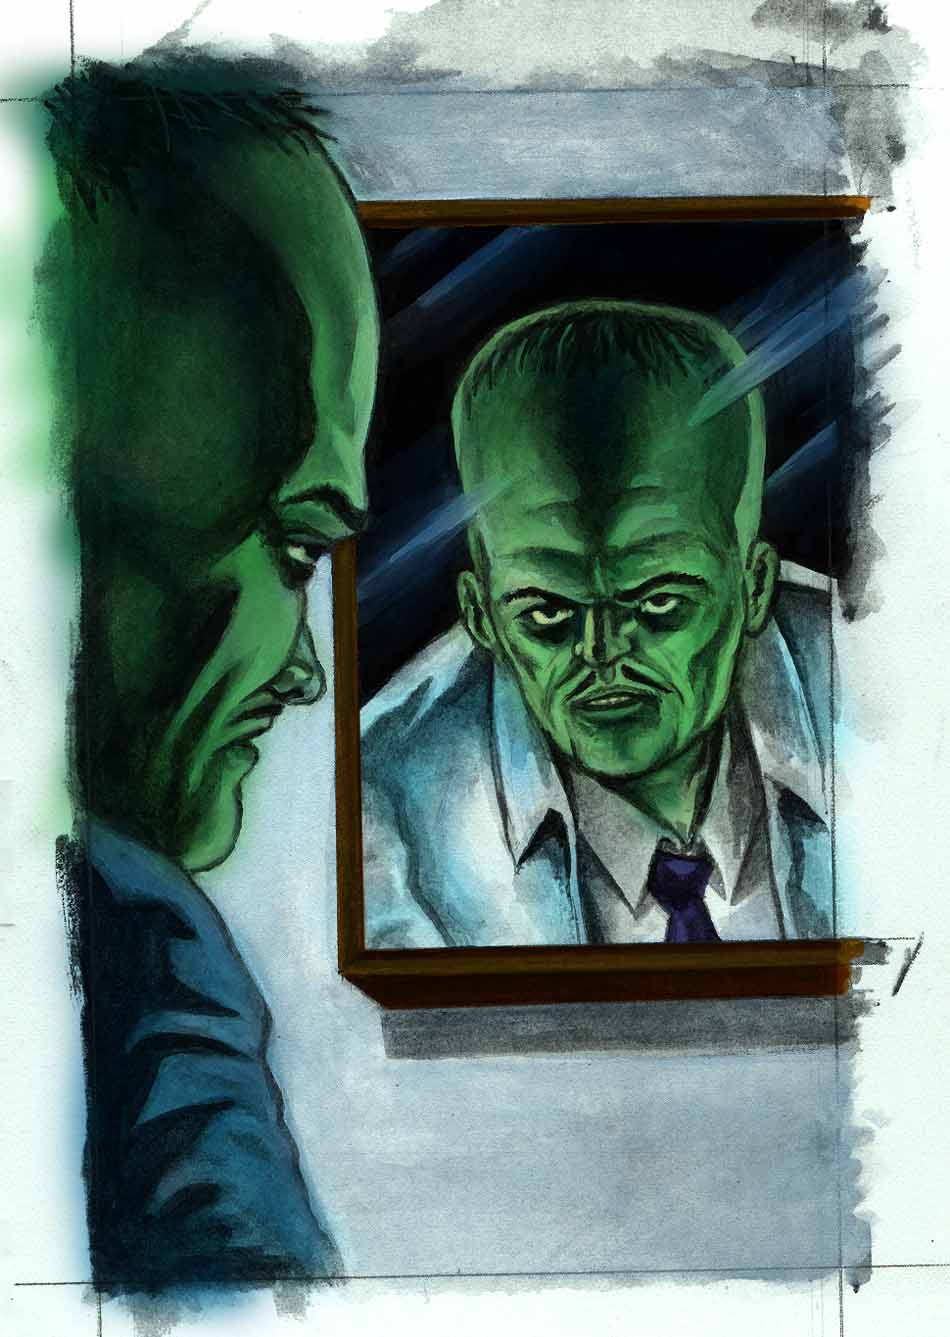
In this case, my submission is from the origin story of one of the Hulk's main nemeses, the Leader, in "Tales to Astonish" #63, drawn by Steve Ditko.

And here's my version:

For those even vaguely interested, here's step-by-step... For everyone else, prepare to be bored!
First, I'm still new to digital painting and effects, so most of this is probably unbelievably crude to those of you who do this all the time. I have an older verision of PhotoShop, but I'm sure almost any photo manipulation program will do, as well--GIMP, etc. Also, my Wacom tablet is so old I had to use a driver for Vista to get it to run on my Windows 7 machine... so that's still a little funky at the moment, as well. But, it's good enough for me to play with before I decide if I want to invest in a new tablet or not. OK, preamble out of the way, here we go...
* * *

Originally, I was thinking about shooting a couple reference photos and such, but decided to heck with it and painted it without any references. I thought I had done enough figure painting over the past few years that I could wing it well enough. Besides, I was wasting so much time thinking about how I would get the lighting setup for the references, etc. that I figured I would have the painting done by the time it was setup. And, for the most part, I think I was right in this case. I'm sure there's a lesson in there for me, somewhere... :-)
Once finished, I scanned the painting into my computer and imported it into PhotoShop.
* * *
STEP TWO: Once in PhotoShop, I duplicated the layer and set it to "Multiply". This allows you to colorize the black-and-white picture and still keep most of the blacks and whites from the original. Here I pretty much just laid down areas of flat color.
* * *

* * *

STEP FOUR: The last few highlights and finishing touches are added. I'm no Ben Templesmith by a long shot, but I get by. Barely. :-)
* * *
.
No comments:
Post a Comment