Tuesday, September 2, 2014

Handbook of the Marvel Universe: Morgan Le Fey

Morgan Le Fey


Here is the original entry for Morgan Le Fey in the "Official Handbook of the Marvel Universe".

* * *


* * *


STEP ONE:  I created a New Document 1,000 x 1,500 pixels in PhotoShop with a toned background and used a large Oil Pastel Brush to sketch in the pose.

* * *


STEP TWO:  Here's the finished black-and-white under drawing.

* * *


STEP THREE:  I erased the gray background and used a MULTIPLY Layer to lay down the flat colors to begin colorizing the picture.  This has the added bonus of establishing the darks and mid-tones for the digital drawing already.

* * *


STEP FOUR:  Over a NEW Layer, I added the highlights and drew the added skulls for the belt and necklace.

* * *


Just for fun, here's an animated .gif of the process.

* * *

Created digitally in PhotoShop.

.

Friday, August 15, 2014

Handbook of the Marvel Universe: Loki

Loki 


Here is the original entry for Loki in the "Official Handbook of the Marvel Universe".

* * *


And here is my entry to the Official Handbook of the Marvel Universe: Redux.  

* * *


STEP ONE:  I created a New Document 1,000 x 1,500 pixels in PhotoShop with a toned background and used a large Oil Pastel Brush to sketch in the pose.

* * *


STEP TWO:  Here is the finished black-and-white under drawing. 

* * *


STEP THREE:  I erased around the figure to remove the gray background and created a MULTIPLY Layer, then began to colorize the figure.  Once again, I decided to use the MULTIPLY Layer as the mid-tones and darks and the New Layer mostly for lights and highlights.

* * *

Created digitally in PhotoShop.

.
Thursday, August 7, 2014

Harley Quinn (Colorized)

Harley Quinn


And here's the Colorized version.

* * *


The first box just shows the flat colors done with a MULTIPLY Layer.  The next step shows some of the variation in the lights and darks on the same layer; I also put some texture and lettering on the hammer.  And in the last step pictured, I pushed the final highlights on a NEW Layer; I dropped the opacity of the lettering to 45% and went in with the Eraser Tool to make it seem like the lettering was a bit faded from over-use.  Finally, I thought it needed a little more focus, so I used a large air brush tool to darken the background around Harley Quinn as seen in the final picture above.

* * *


Here is something a little bit different: an animated .gif of each step in the process from beginning to end.  It's sort of a larger file (1.4MB), so it may take a bit longer to load depending on your internet connection.

* * *

This was done with charcoal on 11" x 14" toned Strathmore drawing paper, then imported into PhotoShop.

.

Tuesday, August 5, 2014

Harley Quinn (Black and White)

Harley Quinn


I noticed my Blog was quickly becoming nothing but art for my posts to the Official Handbook of the Marvel Universe: Redux Blog.  Not that there is anything wrong with that, of course--it's a great Blog and lots of fun to work on.  But, I think I've been getting a bit lazy and decided I need to change things up a bit.  And, with that, I thought it would be fun to do some character studies.  In this case, it's a drawing of Harley Quinn.  I will probably do up a colorized version in the next day or two.

* * * 


STEP ONE:  I used soft, vine charcoal to loosely sketch the pose on a sheet of 11" x 14" Strathmore toned paper.  I like working on a toned surface as it gives three values for the price of two (the mid-toned paper, plus black charcoal and white chalk), as opposed to just the two values of black charcoal on white paper.

* * *


STEP TWO:  I smear the charcoal to soften the lines and push it into general shaded areas.

* * *


STEP THREE:  I used charcoal and carbon pencils to build up shading and a kneaded eraser to carve back out some highlights.

* * *


STEP FOUR:  Here is the finished charcoal drawing.  I also didn't care for the angle of the right-foot in the original drawing and changed it.

* * *


STEP FIVE:  I went in an added some highlights with a white charcoal pencil.  I then took this picture and opened it in PhotoShop to clean it up a bit and use it as a framework to continue the drawing/painting digitally.

* * *


STEP SIX:  In PhotoShop, I darkened and smoothed out the shading, bumped up the highlights more, and also changed the expression on her face, as well as corrected a few other odd-and-ends.  I thought I'd leave this one as black-and-white for now, and do a colorized version in a couple days.  :-)

* * *

This was done with charcoal on 11" x 14" toned Strathmore drawing paper, then imported into PhotoShop.

.

Thursday, July 24, 2014

Handbook of the Marvel Universe: White Queen / Emma Frost

White Queen / Emma Frost


Here is the original entry for the White Queen / Emma Frost in the "Official Handbook of the Marvel Universe".

* * *


And here is my entry to the Official Handbook of the Marvel Universe: Redux.  

White Queen/Emma Frost has changed quite a bit since her entry in the Handbook of the Marvel Universe, with her going from a member of the Hellfire Club to helping to lead the X-Men and becoming romantically connected to Scott/Cyclops and all.  So, with this entry, I tried to blend between the old and the new.  I also changed the pose a little bit to make her seem a bit more haughty, aloof, and in control.

Visually, the White Queen has always been interesting (hey, not just for the obvious reasons--and I'll explain those reasons just as soon as I think of 'em!), and part of the challenge is to try and find the right balance drawing a woman with sex appeal without it tipping into juvenile, puerile fantasy.

* * *


STEP ONE:  I created a New Document 1,000 x 1,500 pixels in PhotoShop with a toned background and used a large Oil Pastel Brush to sketch in the pose.

* * *


STEP TWO:  Here is the finished black-and-white under drawing. 

* * *


STEP THREE:  I erased around the figure to remove the gray background and created a MULTIPLY Layer, then began to colorize the figure.  For this one, I did a lot more digital painting on a New Layer for the fur cape and blending some of the lights and highlights.  On the left is the black-and-white drawing after it is colorized over the Multiply Layer, with the highlights and additional digital painting on top of it and finished on the right.  Usually, the difference between the two isn't quite so pronounced, but white colors and highlights tend to be a bit darker and muddy on a Multiply Layer.  Because of that, I decided to use the Multiply Layer as the mid-tones and darks and the New Layer for lights and highlights.

* * *

Created digitally in PhotoShop.

.

Friday, July 18, 2014

Handbook of the Marvel Universe: Aliens - Gramosians

Gramosians


Here is the original entry for the Alien Race: Gramosians to the "Official Handbook of the Marvel Universe".

* * *


And here is my entry to the Official Handbook of the Marvel Universe: Redux.  I did a quick search and found a picture of their first appearance in Thor #208 and modified their costuming a little bit.

Below, a brief step-by-step for those who are interested... :-)

* * *


STEP ONE:  I created a New Document 1,000 x 1,500 pixels in PhotoShop with a toned background and used a large Oil Pastel Brush to sketch in the pose.

* * *


STEP TWO:  Here is the finished black-and-white under drawing. 

* * *


STEP THREE:  I erased around the figure to remove the gray background.  Lastly, I created a MULTIPLY Layer and began to colorize the figure, and did some final highlights on a New Layer.  

* * *

Created digitally in PhotoShop.

.

Friday, July 11, 2014

Handbook of the Marvel Universe: Aliens - Glx

Glx


Here is the original entry for the Alien Race: Glx to the "Official Handbook of the Marvel Universe".

* * *


And here is my entry to the Official Handbook of the Marvel Universe: Redux.  As it was mentioned in the description that the Glx were Silicon-based, I pictured more of a crystalline structure for their body.

* * *


STEP ONE:  I created a New Document 1,000 x 1,500 pixels with a toned background and used a large Oil Pastel Brush to sketch in the pose.

* * *


STEP TWO:  I found some  photographic references for crystal structures and pasted them into the drawing.  I did paint over all of them, but it helped me to figure out how to do crystal growths and formations.

* * *


STEP THREE:  Here is the finished black-and-white under drawing. 

* * *


STEP FOUR:  I erased around the figure to remove the gray background.  Lastly, I created a MULTIPLY Layer and began to colorize the figure, and did some final highlights on a New Layer.  

* * *

Created digitally in PhotoShop.

.

Friday, July 4, 2014

Handbook of the Marvel Universe: Aliens - Gegku

Gegku


Here is the original entry for the Alien Race: Gegku to the "Official Handbook of the Marvel Universe".

* * *


And here is my entry to the Official Handbook of the Marvel Universe: Redux.  

* * *


STEP ONE:  I created a New Document 1,000 x 1,500 pixels with a toned background.  I used a large Oil Pastel Brush to sketch in the pose.

* * *


STEP TWO:  Here is the finished black-and-white under drawing.

* * *


STEP THREE:  Here is a texture of a alligator scales, which I set to a SOFT LIGHT Layer which gave it a slight, scaly texture.

* * *


STEP FOUR:  I erased around the figure, to remove the gray background.  Finally, I created a MULTIPLY Layer and began to colorize the figure, and did some final highlights on a New Layer.  Although, the Gegku I did almost looks like The Fantastic Four's Thing.  :-D

* * *

Created digitally in PhotoShop.

.

Thursday, June 26, 2014

Handbook of the Marvel Universe: Aliens - Galadorians

Galadorians


Here is the original entry for the Alien Race: Galadorians to the "Official Handbook of the Marvel Universe".

* * *


And here is my entry to the Official Handbook of the Marvel Universe: Redux.  

For those in the know, the entry for Aliens: Galadorians in the OHotMU is another opportunity for me to draw ROM: Spaceknight.  :-)

* * *


STEP ONE:  For this series of Aliens in the OHotMU entry, I decided to do them entirely digitally.  I created a New Document 1000 pixels x 1500 pixels with a toned background.  I used a large Oil Pastel Brush to sketch in the pose.

* * *


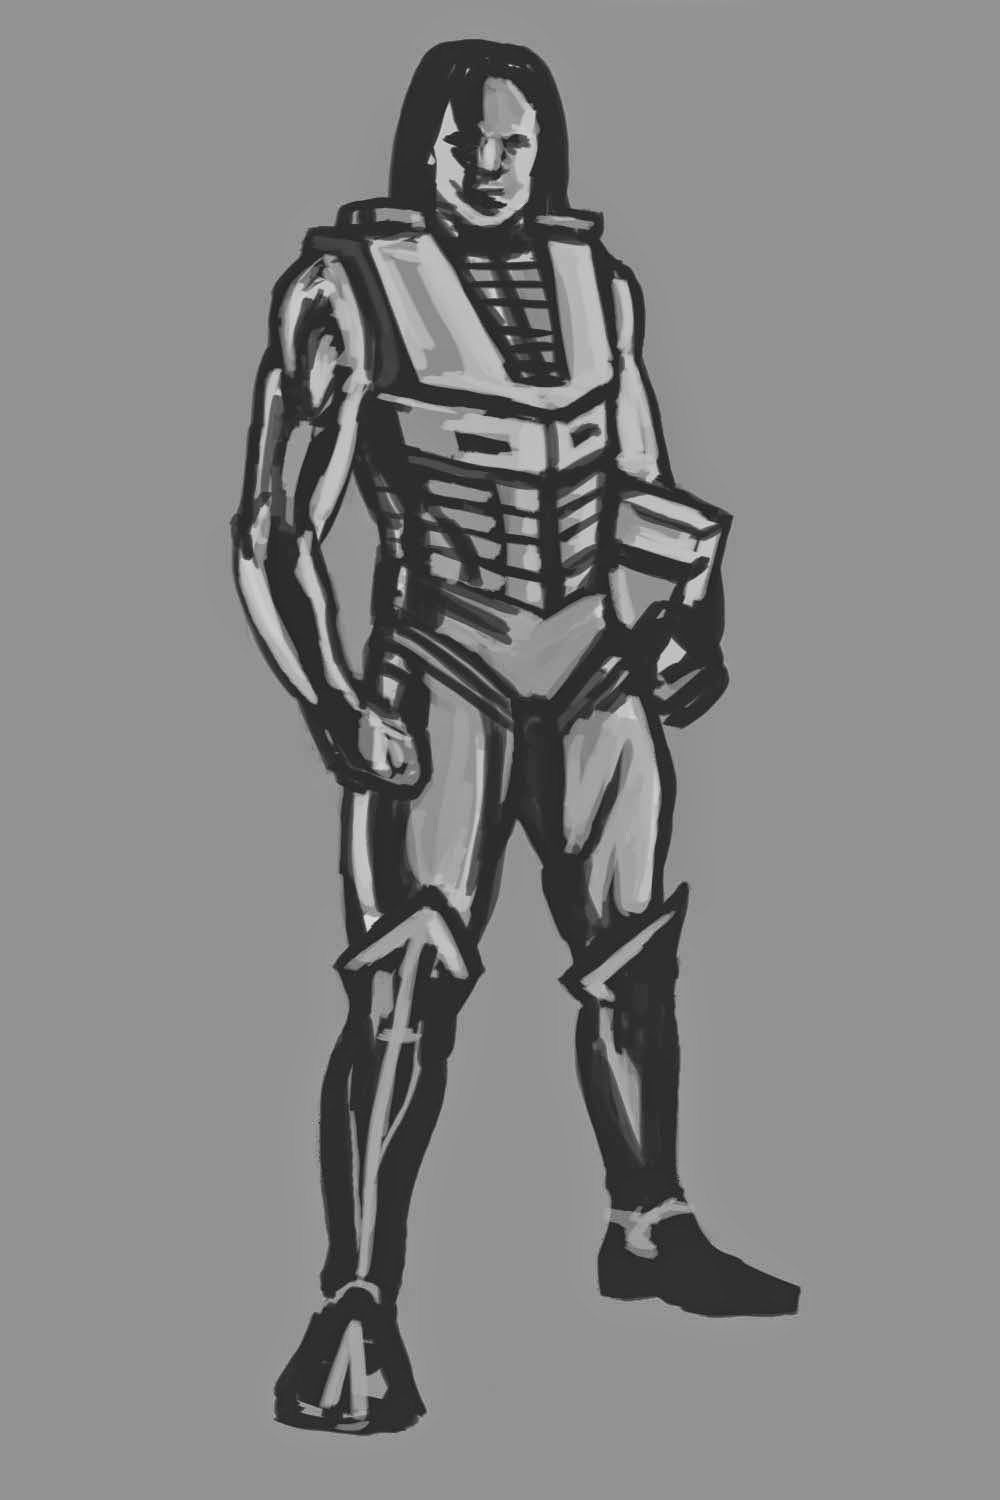
STEP TWO:  Here is the finished black-and-white under drawing.

* * *


STEP THREE:  I erased around the figure, to remove the gray background.  Finally, I created a MULTIPLY Layer and began to colorize the figure, and did some final highlights on a New Layer.

* * *

Created digitally in PhotoShop.

.

Shameless Self-Promotion

I want to give a shout out to Rafael, who is currently stationed in Afghanistan, for having my art grace another T-Shirt overseas.  To pass the time at their base and provide some entertainment, they have created T-Shirts for various days of the week and landed on the idea of a Face-Hugger Friday and asked if they could use my drawing.  Absolutely!

He was kind enough to send me a few T-Shirts, a flag which was from the base, along with a citation for me.  It **ALMOST** makes it worth surely being on some sort of NSA Watch List now that I have received a package from Afghanistan.  :-D


FRONT:  I did not draw the Chest-Burster on the front of the shirt, but it is cool nonetheless!  And, hey, it's a CHEST-BURSTER, so it HAS to be on the Front of the shirt.

* * *


BACK:  My Face-Hugger drawing is on another T-Shirt!  WEIRD!  It is part of my growing pile of swag, and my art finds itself on another shirt overseas.  (See HERE for the tale of the Face-Hugger drawing being used by Buried, a Dutch Death Metal Band.)

Rafael, when you get back stateside, contact me again.  At very least I owe you some sort of original drawing/sketch.  This stuff is COOL!  :-)

.